Install software on custom microSD
Phenox2 has two CPUs(CPU0 and CPU1). CPU0 installs Linux(Ubuntu 13.04) and CPU1 operates flight controll system.
Linux system is built on a microSD, so users can customize their own system by rewriting contents of a microSD. Also, binary of CPU1 and FPGA is also available. So users can download required software to operate Phenox2, and prepare a microSD card by yourself.
In this section, we explain how to build Phenox2 software on custom microSD card.
Here we report the method using Ubuntu 14.04 as host-PC.
1. Prepare a microSD (4.0Gbyte or upper)
2. Open terminal.
3. Inject a microSD to host-PC.
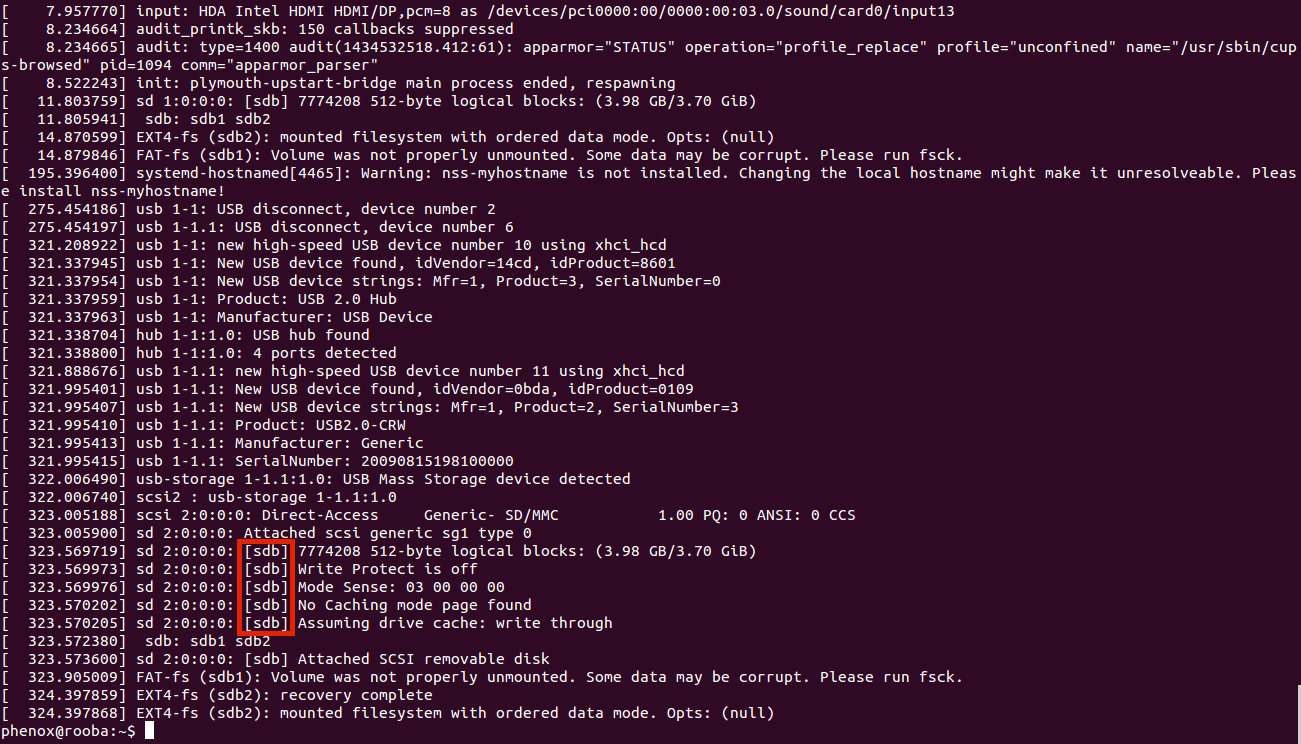
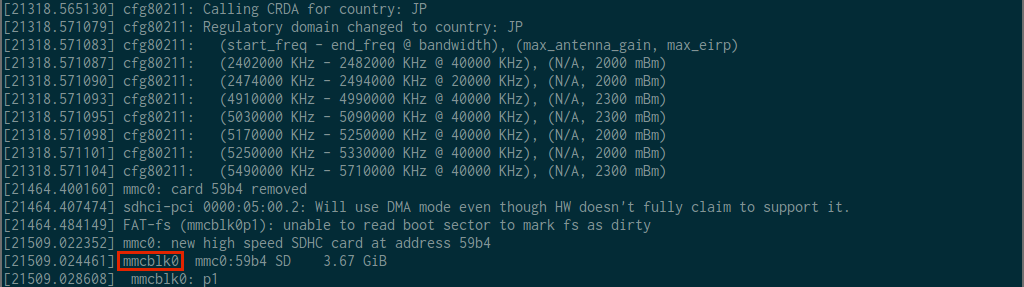
4. Execute "dmesg" command. And you can check device name of a micro SD as shown in Fig.1 or Fig.2.
hostpc$ dmesg
Fig.1 shows the device name is "sdb", and Fig.2 shows the device name is "mmcblk0". Device name is changed according to the user's environment. So replace the following "sdX" to correct device name.
5. Before formatting a microSD, execute following command.
hostpc$ sudo dd if=/dev/zero of=/dev/sdX bs=1024 count=1
Then, eject and inject a microSD again. 6. Create two partition to a microSD.
hostpc$ sudo fdisk /dev/sdX
In fdisk, press key as follows
- press "n" and Enter
- press "p" and Enter
- press "1" and Enter
- press Enter
- press "+256M" and Enter
- press "n" and Enter
- press "p" and Enter
- press "2" and Enter
- press Enter
- press Enter
- press "a" and Enter
- press "1" and Enter
- press "t" and Enter
- press "1" and Enter
- press "c" and Enter
- press "t" and Enter
- press "2" and Enter
- press "83" and Enter
- press "p" and Enter. Check that two partitions(FAT32 and Linux) are created.
|/dev/sdX1 | * | XXXXXXX | YYYYYYY | BBBBBBB | c | W95 FAT32 (LBA)|
|/dev/sdX2 | | XXXXXXX | YYYYYYY | BBBBBBB | 83 | Linux|
- press "w" and Enter
After finishing, eject a microSD and inject it again.
7. Create file systems on two patitions with following command.
hostpc$ sudo mkfs.vfat -F 32 -n boot /dev/sdX1
hostpc$ sudo mkfs.ext4 -L root /dev/sdX2
After finishing, eject a microSD and inject it again.
8. Download softwares from Phenox Lab, extract and copy them to a microSD.
hostpc$ wget http://phenoxlab.com/static/phenox_boot_master.tar.gz
hostpc$ wget http://phenoxlab.com/static/phenox_ubuntu_master.tar.gz
hostpc$ tar zxvfp phenox_boot_master.tar.gz
hostpc$ tar zxvfp phenox_ubuntu_master.tar.gz
hostpc$ cp -a phenox_boot_master/* /media/<username>/boot/
hostpc$ sudo cp -a phenox_ubuntu_master/* /media/<username>/root/
9. unmount and finish
hostpc$ umount /media/<username>/root /media/<username>/boot
Firmware Update
Firmware (contents of micro SD card) will be somtimes updated. Information of latest revision number is announced in this page.
To check current revision number in micro SD card, please see "revision.log", which exists in "boot" and "root" folder.
phenox_boot_master
The latest revision number is 20160410
phenox_ubuntu_master
The latest revision number is 20160109